m-Power Guided Lessons
Please choose from one of the options below. If you have have any questions, please contact us at mrc@mrc-productivity.com.
Lesson #1: How to build an application with m-Power
In this tour, we show you how to build a simple application with the m-Power Development Platform. You'll see a full build process and get introduced to the m-Power interface. You can view this tour below in one of two ways: As a video or as a step-by-step guide with images.

Option 2: Step-by-step text with images
01
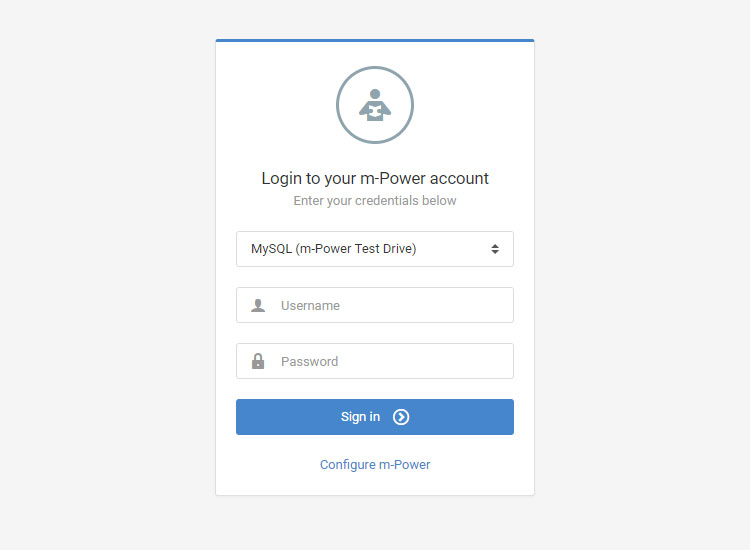
Login
Click here (if you haven’t already) to access the m-Power login screen. Use the credentials found in your "Welcome" e-mail. If you didn't receive your "Welcome" email, please email us at mrc@mrc-productivity.com.
02
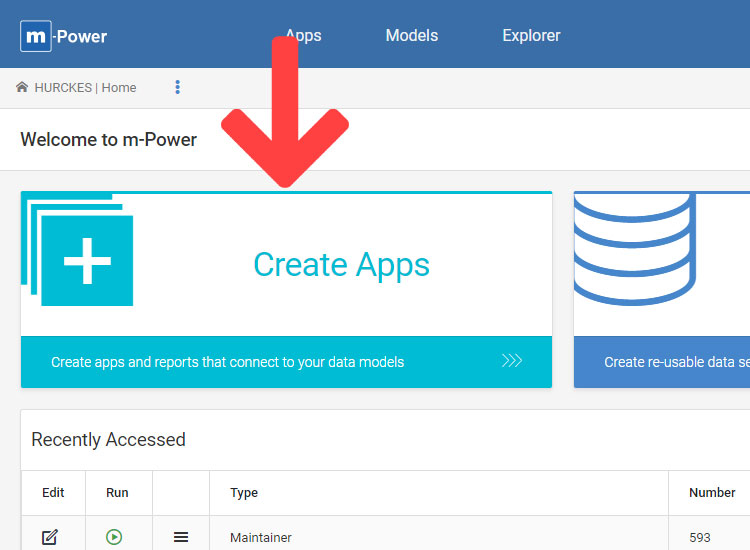
Create Apps
In the m-Power home screen, click the "Create Apps" button.
03
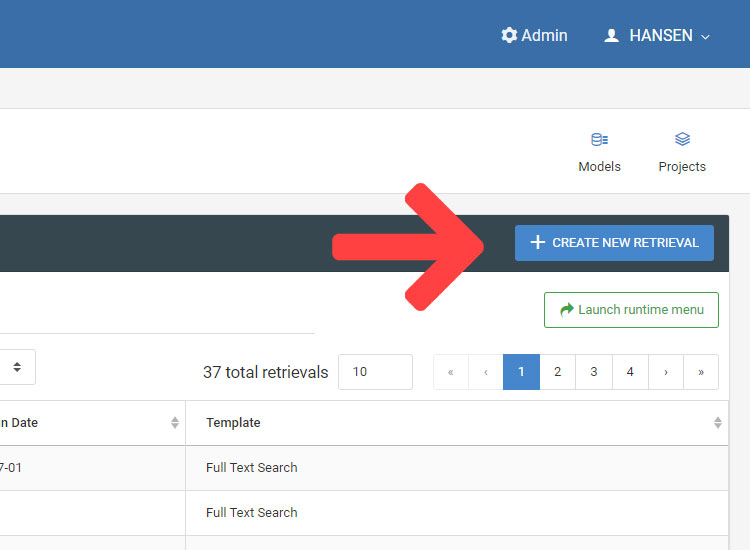
Create New Retrieval
Click the "Create New Retrieval" button to start the build process.
04
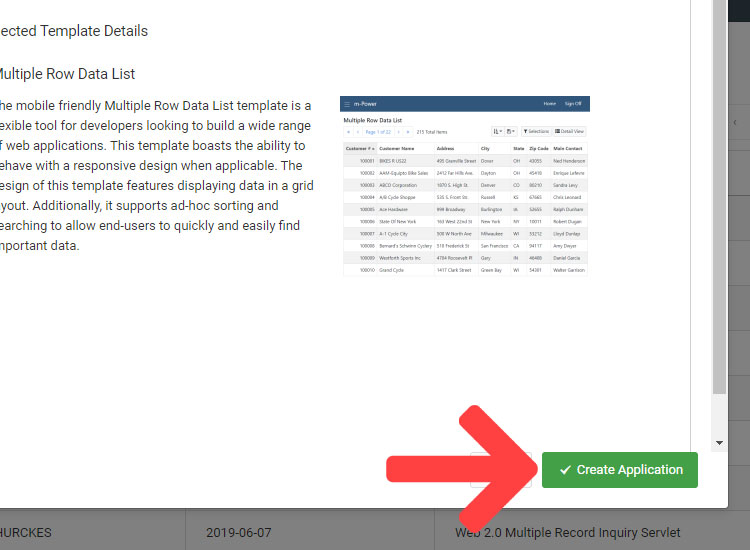
Name your application
Give your application a name. The template we will use is pre-selected for you. Click “Create Application.”
05
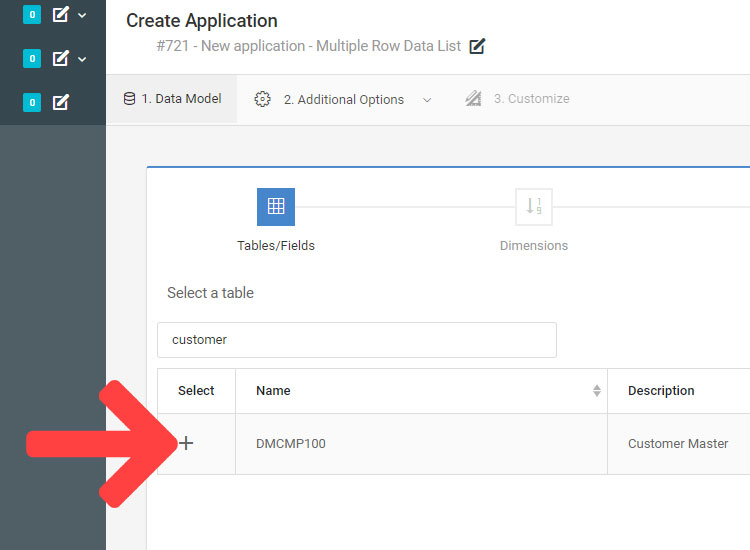
Select data
Now you need to select the data you wish to include in your application. Click the "plus" icon next to "Customer Master."
06
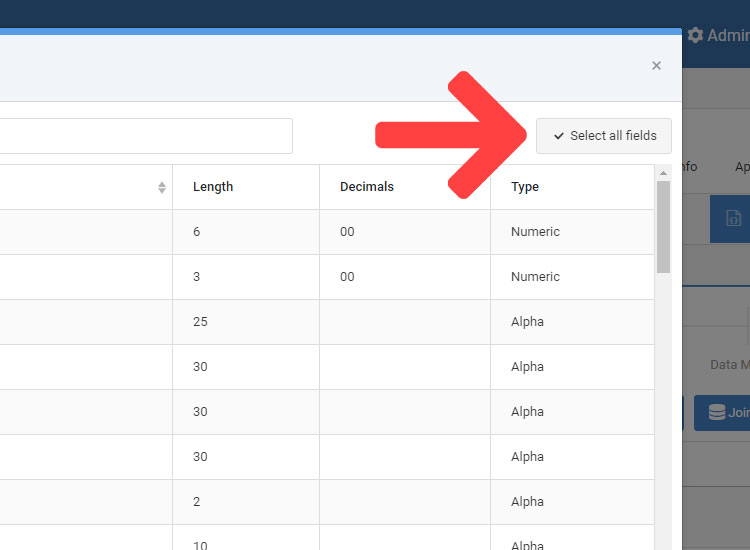
Select fields
Click the "Select all fields" button to include all fields in your application. Then click "Done".
07
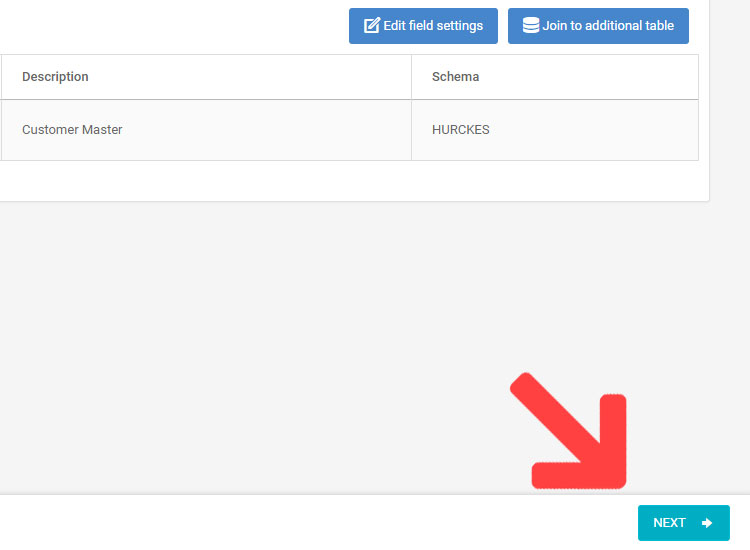
Click "Next"
Click the "Next" button found on the bottom right of the screen.
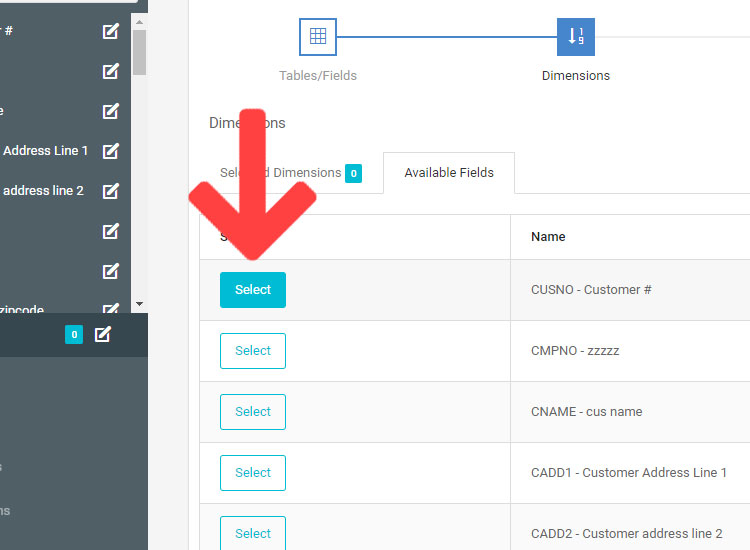
08
Sort the data
You are now on the Dimensions screen where you can specify a default sort order. Click the “Select” button next to CUSNO – Customer #.
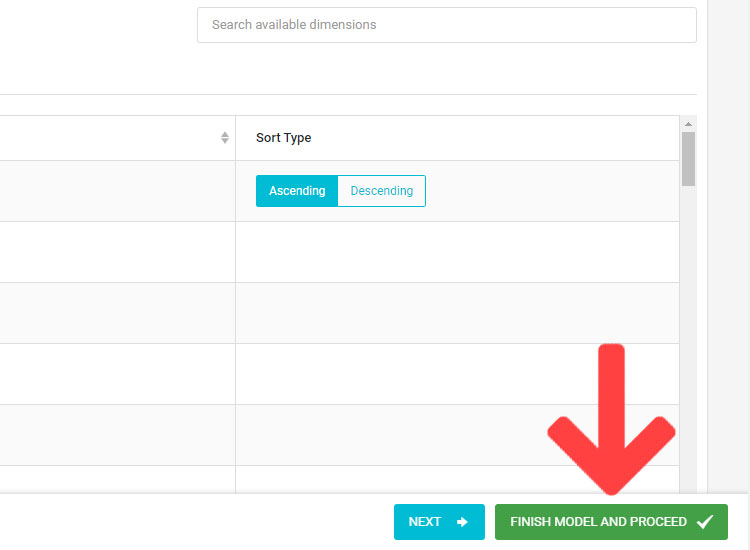
09
Proceed to build
Click "Finish Model and Proceed" to move on to the build step.
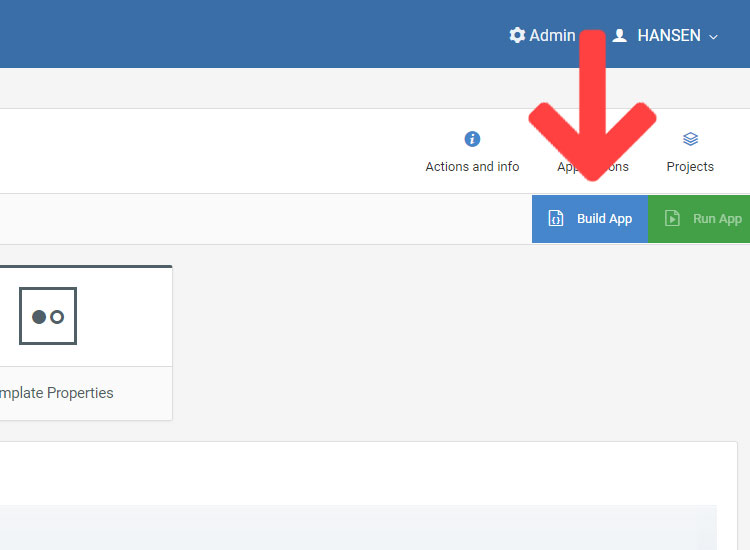
10
Build
Click the "Build" button and watch as m-Power compiles your application.
11
Run your app
When your application has compiled, click the "Run" button to view it.

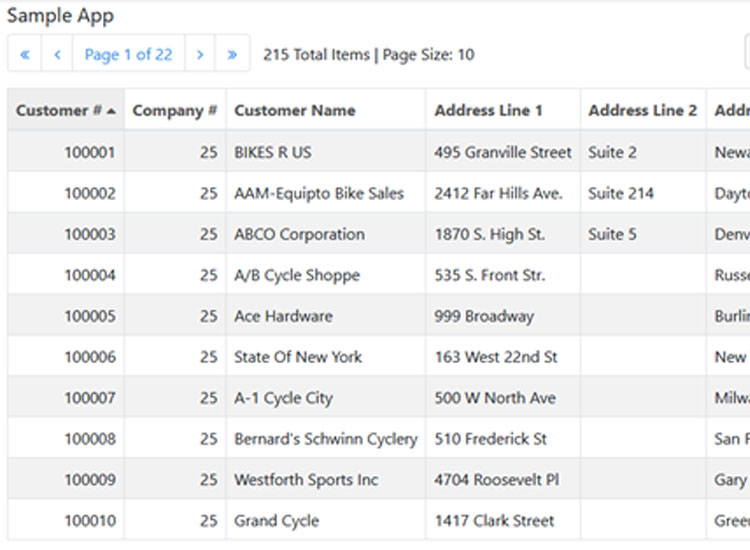
Complete
View your app
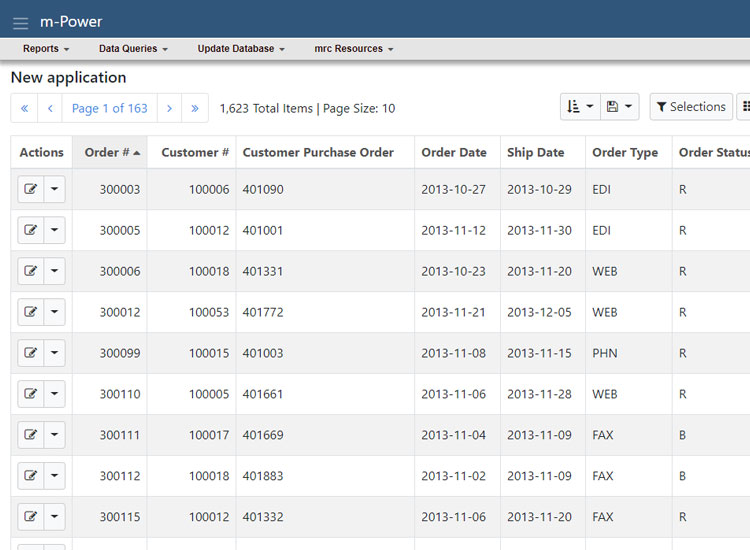
Congratulations! You've completed your first build process. Your application should look like this.
Lesson #2: Create a report from a spreadsheet
In this exercise you will be uploading a spreadsheet and turning it into a report. The goal of this walk-through is for you to experience the full process of starting with a typical data-spreadsheet and finishing with a full-featured m-Power application. When doing this, here are some basic rules to follow:
- Your data must be a Microsoft Excel .xlsx file
- Your data must exist on the first data sheet
- Data should be in tabular form. In other words, your data needs to be organized into rows and columns. You should not attempt to upload Pivot Tables or other non-tabular data set.
- Your data or column headings need to begin in the A1 cell.
You can view this tour below in one of two ways: As a video or as a step-by-step guide with images.
Option 2: Step-by-step text with images
01
Login
Click here (if you haven’t already) to access the m-Power login screen. Use the credentials found in your "Welcome" e-mail. If you didn't receive your "Welcome" email, please email us at mrc@mrc-productivity.com.
02
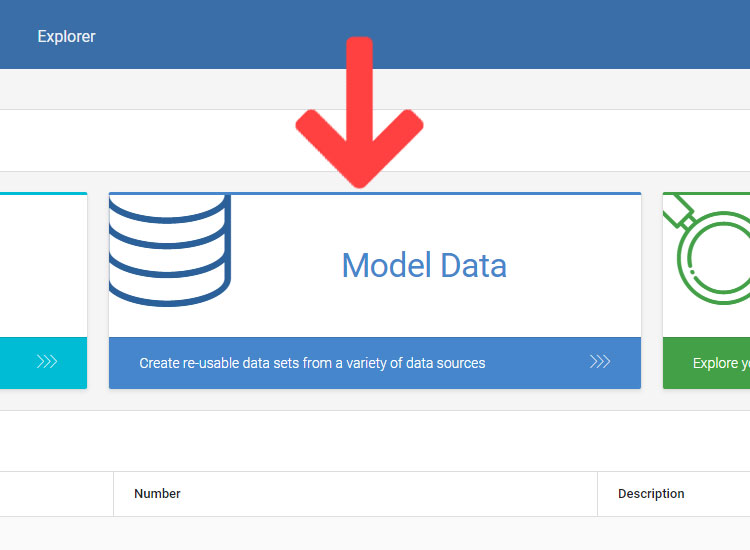
Model Data
In the m-Power home screen, click the "Model Data" button.
03
Create New Model
Click the "Create New Model" button to start the process.

04
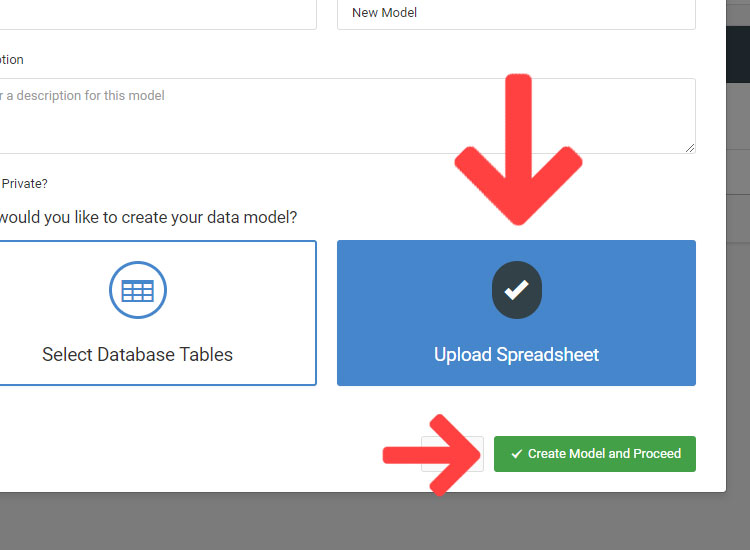
Model Information
Give your model a name then click the “Upload Spreadsheet” option. Finally click “Create Model and Proceed.”
05
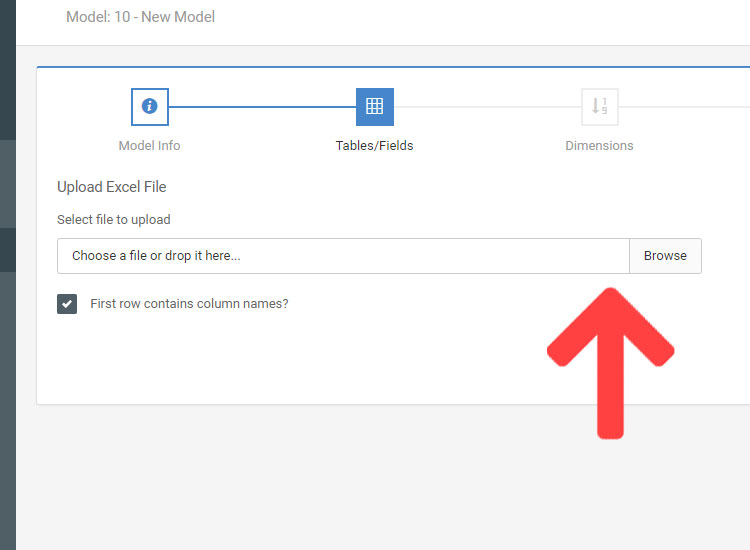
Download the spreadsheet
Download this spreadsheet. Click "browse" and select the spreadsheet you just downloaded.
06
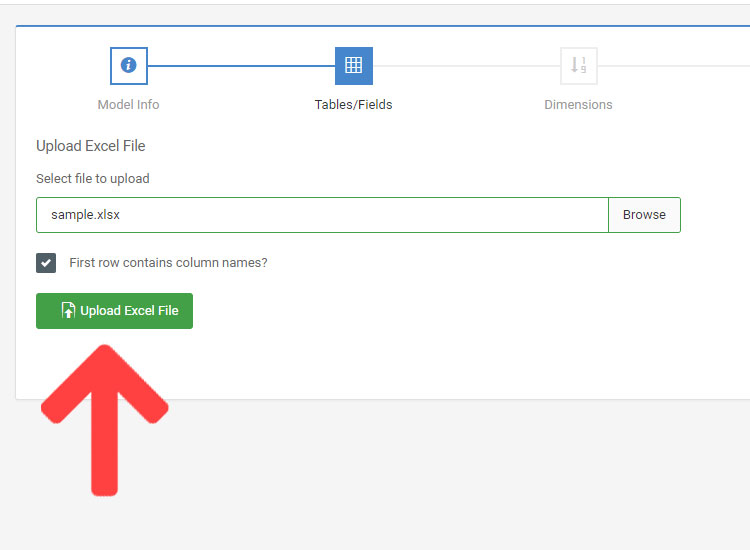
Upload spreadsheet
Once you've selected the spreadsheet, click the "Upload Excel File" option.
09
Click "Next"
Click the "Next" button found on the bottom right of the screen.
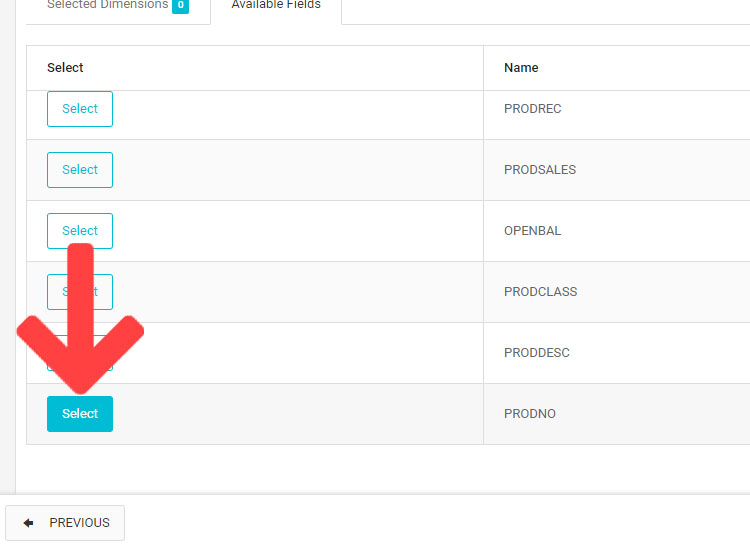
10
Sort your data
Click the "select" button for the "prodno" field.
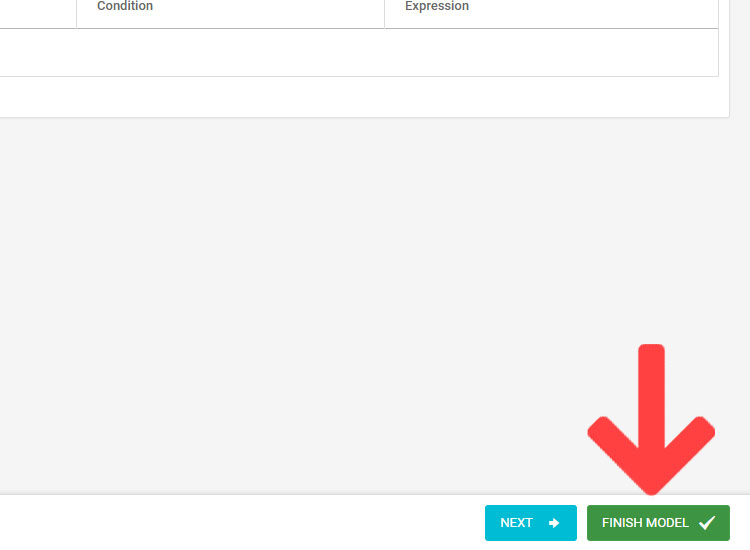
11
Finish model
Click the "Finish Model" button to complete the model creation process.
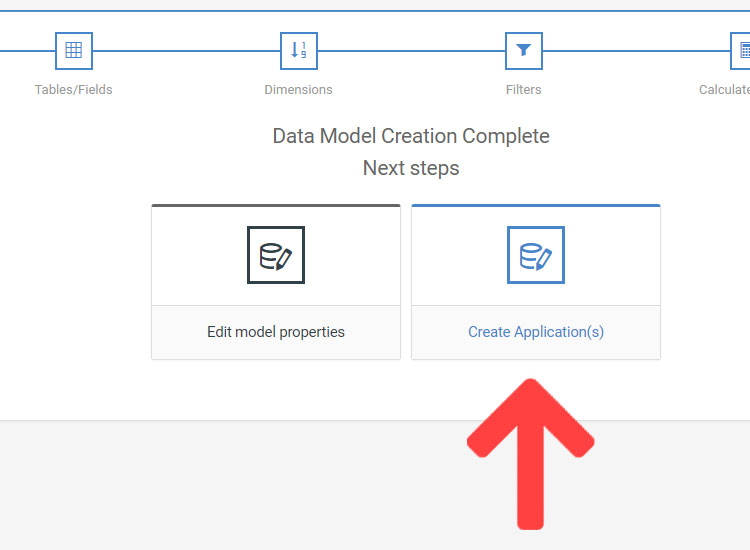
12
Create application
You've now uploaded your data and created a reusable data model. Now we will create an application over this model. Click the “Create Application(s)” button to get started.
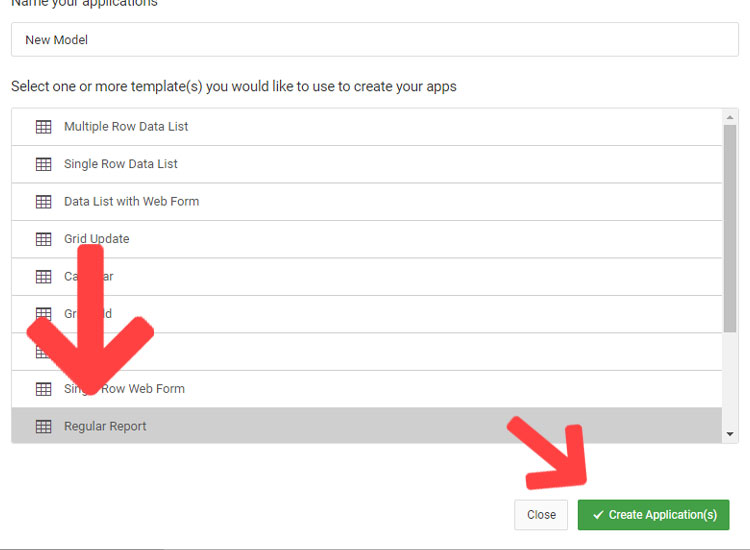
13
Choose a report
In the modal window, click the "Regular Report" option and then click "Create Application(s)."
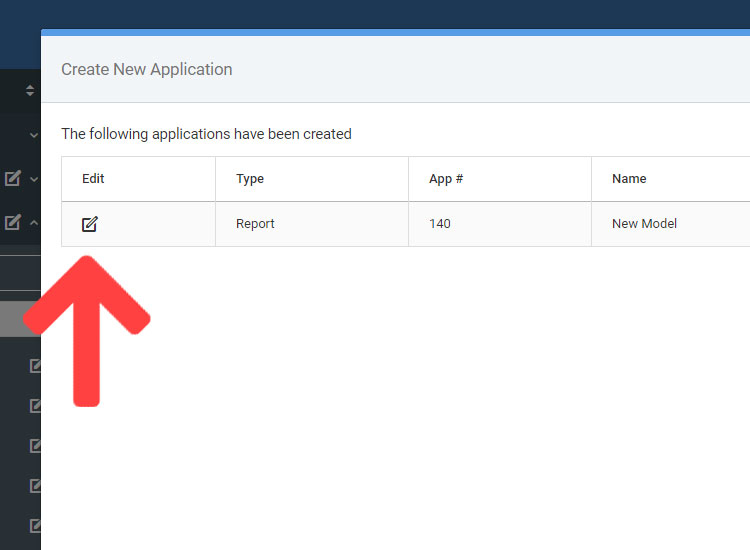
12
Edit
Click the Edit button on your newly created application.
13
Build
m-Power has built your application to mimic your data model. All you need to do is to build and run it. Click the blue “Build App” button.
14
Run your app
When your application has compiled, click the "Run" button to view it.
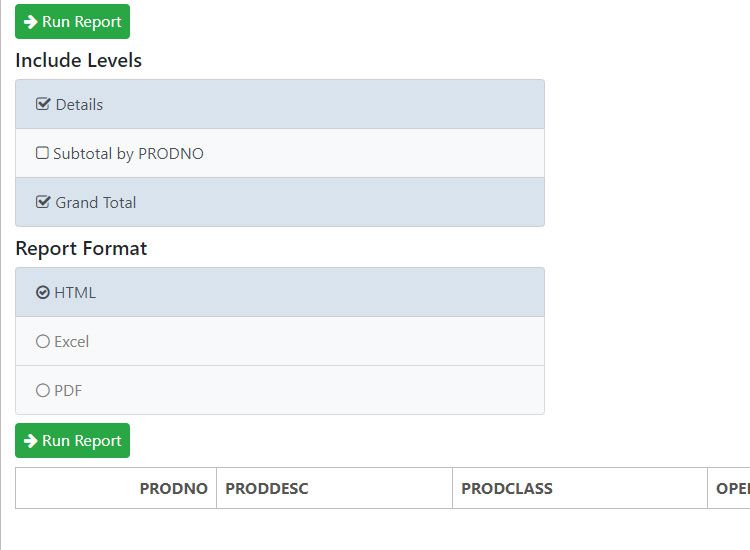
Complete
View your app
Congratulations! You've completed your report. Click the "run report" button to see the data.
Lesson #3: Create a web based data management system
In this exercise you will be creating a web based data management system. The goal of this walk-through is to give you basic exposure on how to build these types of applications in m-Power. You can view this tour below in one of two ways: As a video or as a step-by-step guide with images.
Option 2: Step-by-step text with images
01
Login
Click here (if you haven’t already) to access the m-Power login screen. Use the credentials found in your "Welcome" e-mail. If you didn't receive your "Welcome" email, please email us at mrc@mrc-productivity.com.
02
Create Apps
In the m-Power home screen, click the "Create Apps" button.
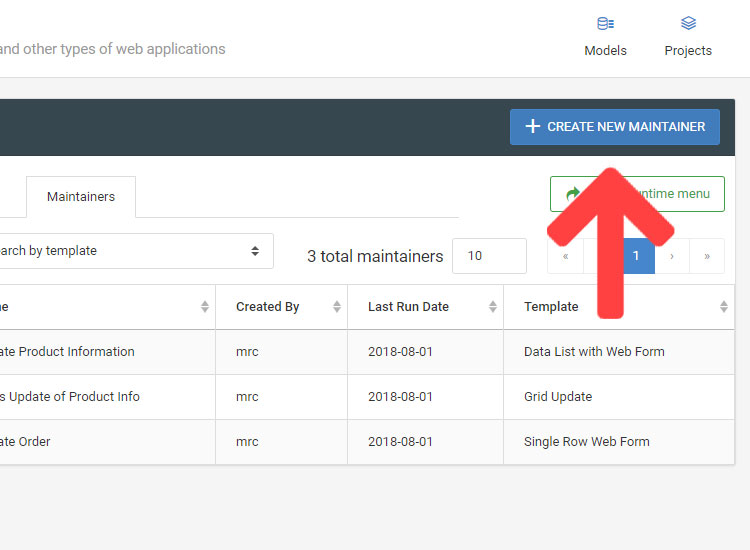
03
Create new maintainer
Choose the "maintainer" tab, and then click the "Create New Maintainer" button to start the build process.
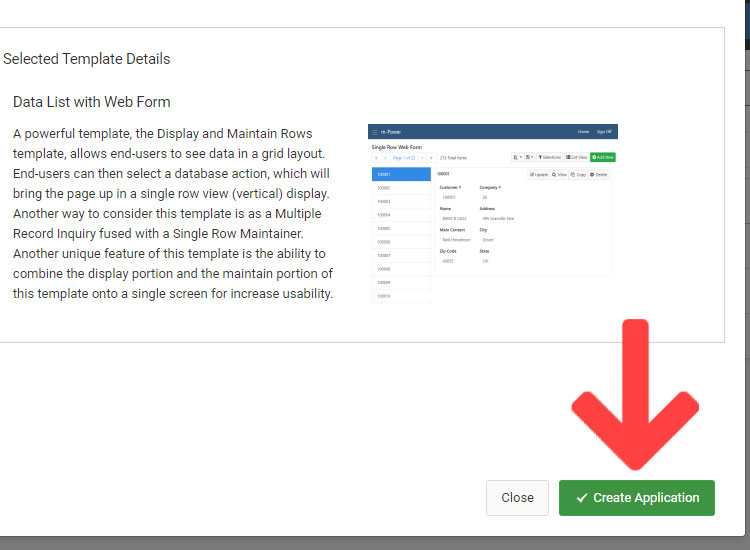
04
Name your application
Give your application a name. The template we will use is pre-selected for you. Click “Create Application.”
05
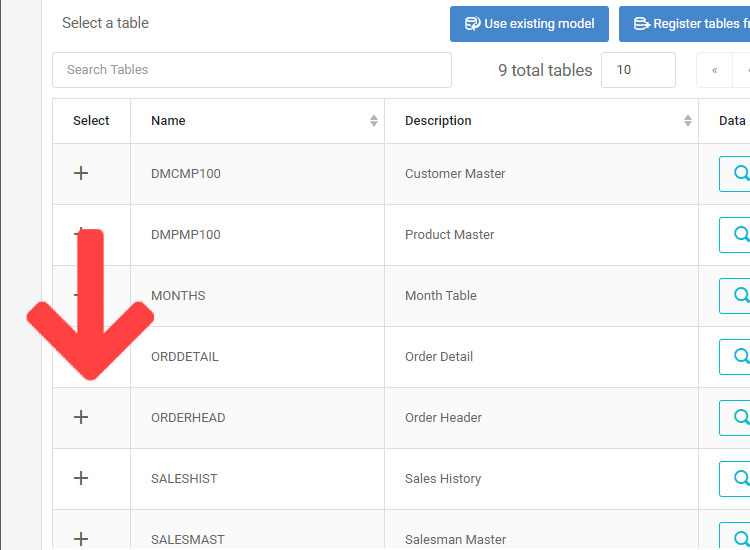
Select data
Now you need to select the data you wish to include in your application. Click the "plus" icon next to "Order Header."
06
Select fields
Click the "Select all fields" button to include all fields in your application. Then click "Done".
07
Click "Next"
Click the "Next" button found on the bottom right of the screen.
08
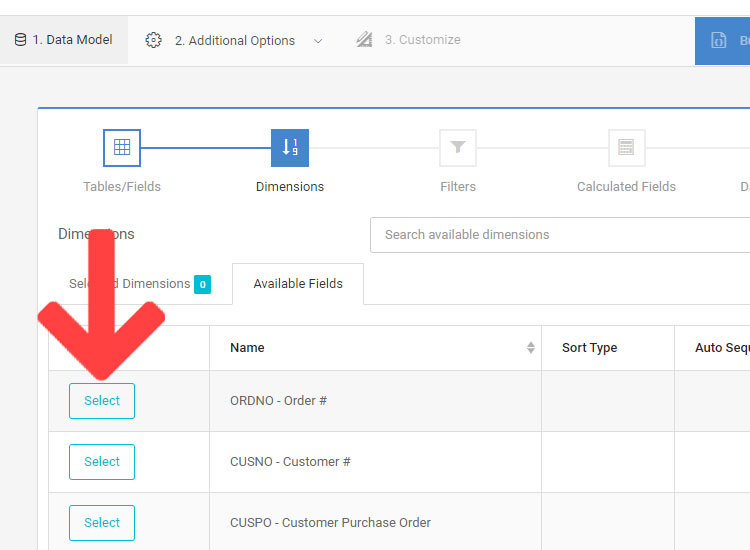
Sort the data
You are now on the dimensions screen where you can specify a default sort order. Click the “Select” button next to ORDNO - Order #.
09
Proceed to build
You can click the “Auto Sequence” checkmark to generate a new order # when creating new records. Then click "Finish Model and Proceed" to move on to the build step.
10
Build
Click the "Build" button and watch as m-Power compiles your application.
11
Run your app
When your application has compiled, click the "Run" button to view it.
Complete
View your app
Congratulations! You've completed the build process. Your application should look like this.