There are very few instances I've run into with m-Power where I'm hitting a brick wall and the software itself is a limiter. There's very little we can't do with it. Our imagination is the only limiter.
m-Power's Low-Code Build Process
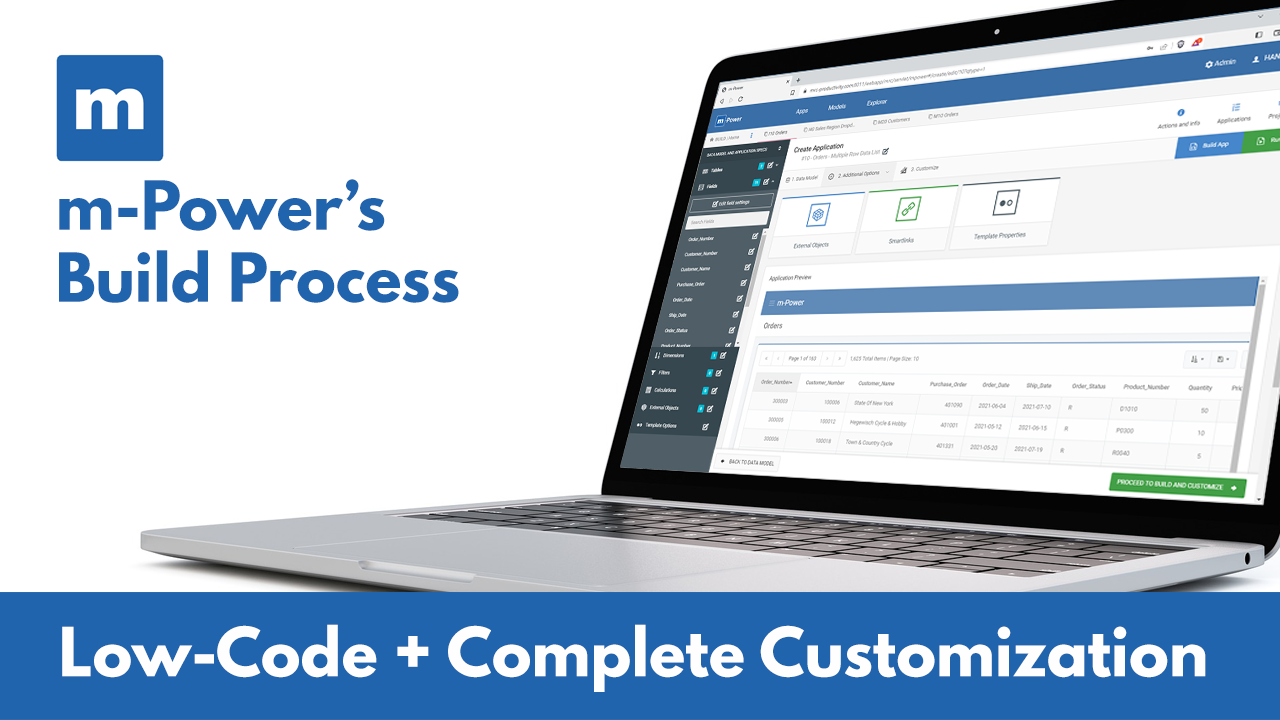
Creating applications with m-Power requires no coding, but allows for custom coding if needed. It consists of four simple steps:
01
Name your application and choose your template
m-Power's pre-built templates come with all of the architecture and standard features baked in, which eliminates most of the development effort. Here are a few benefits to this approach:
- Development Speed: We've done all the coding, added all the features, and tested all of the templates. You're 80% finished when you start.
- Responsive: The templates automatically adapt to tablets and smartphones.
- Customizable: You can customize any template however you wish, or even create new templates.
02
Choose and sort your data
m-Power's templates are the foundation for your application, but they need data to function. In this step, you choose your database tables and fields to include in your application. You can also choose to join tables together, if necessary. Of course, you must also tell m-Power how to sort your data within the application.
03
Optional: Add your logic/filters
This optional step provides a preview of your application, and lets you add additional specifications to the application. Options include:
- Field Settings: Customize the fields you would like to display in your application.
- Record Selections: Filter the data that's displayed in your application, or set run-time filters for the user.
- Calculations: Add calculated fields to your application.
- External Objects: Add custom business logic and custom code to your application.
- Smartlinks: Link your application to another m-Power application, while passing key data automatically.
04
Build
When you click the "build" button, m-Power combines the application specifications with the selected template to generate the application. The compile process automates these steps:
- Generate the Java source code, including the SQL database access statements.
- Compile the Java source code into a J2EE Java servlet program.
- Create the HTML presentation file.
- Create the XML properties file for setting application-level options.
- Deploy the entire package to the application server.
05
Optional: Customize your application
You have unlimited customization options through m-Painter (m-Power's visual designer) and the Workflow Designer. Here are a few common ways that users customize their applications after they're built:
Look & Feel
You have complete control over your application's look and feel.
Add Workflows
Create workflows that are triggered by your application.
Insert Charts
Add charts and graphs to your application using m-Painter.
Add Features
Add forms, calendar pop-ups, drop-downs, and much more.
Edit the Code
Open up the code view and edit your application's HTML, CSS, or Java files.
Embed other applications
m-Power's Smartlink feature lets you embed other apps within your app, passing key data automatically.
Take a deep dive into m-Power's build process
Want an in-depth view of m-Power's build process? In each of these demo videos, one of our m-Power consultants walks you through a start-to-finish development project. They tackle real-world projects, and explain each step along the way.
Project: Helpdesk Portal
Project Length: 1 hr 55 mins
Project: BI/Reporting Suite
Project Length: 1 hr 38 mins
Project: Field Service Management
Project Length: 2 hr 16 mins
Learn how m-Power can help you
Sign up for a free trial


