Table/Field Selection
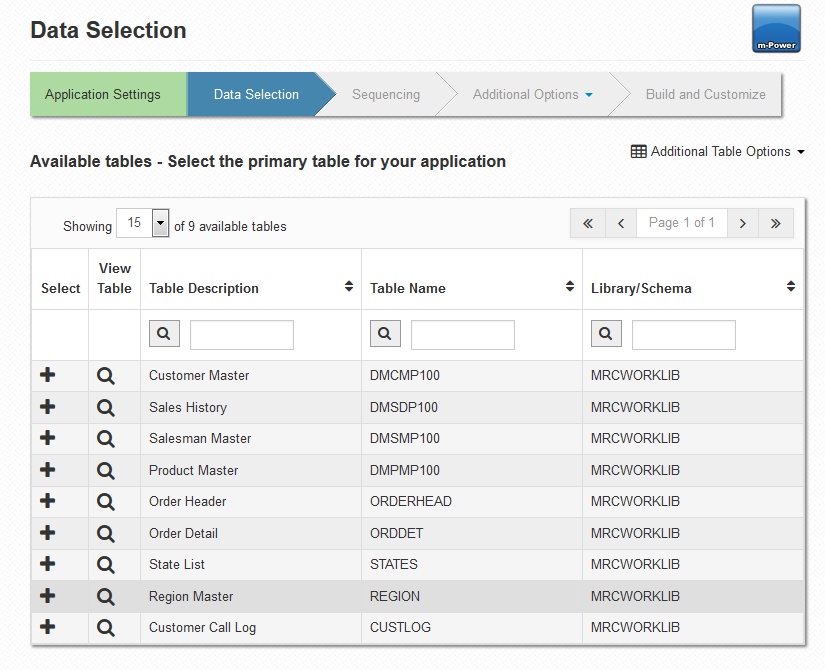
After first creating your table, you will automatically be brought to the Data Selection specification screen. Initially, you will be prompted to select your first table. Notice that all of the tables available to you are all the tables that you have registered to your current data dictionary.
Here you can filter your registered tables, view more of your tables with the next button, preview data with the magnifying glass icon, or select a table using the green plus sign.
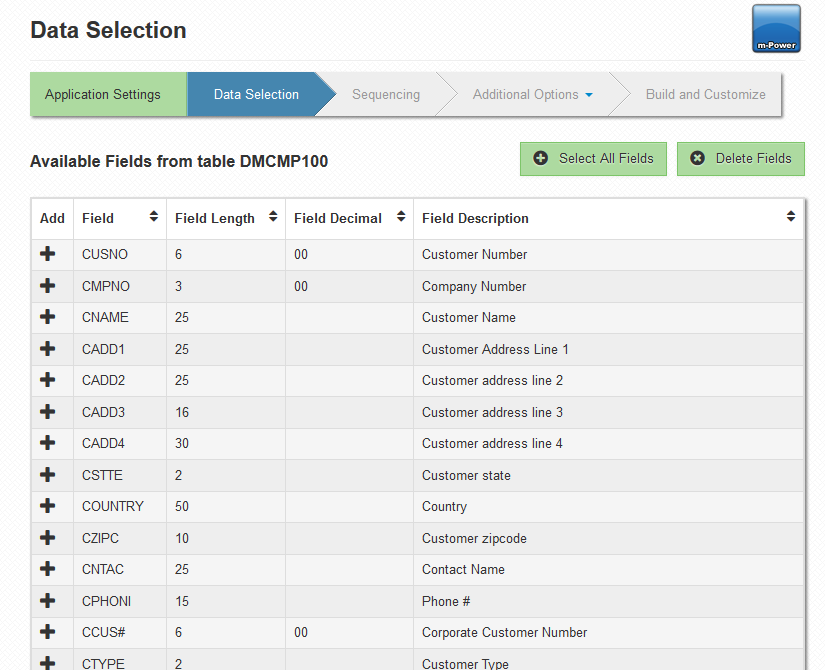
After doing so, you will be brought to the Field Selection page.
Select fields by clicking on the green plus sign. If you plan on joining out to any secondary tables, it is important that you select fields in the current table that will also be found in the secondary tables. Once you have selected all desired fields, click accept.
Note: If you add a field inadvertently, you can remove it by clicking on the "Delete Fields" button.
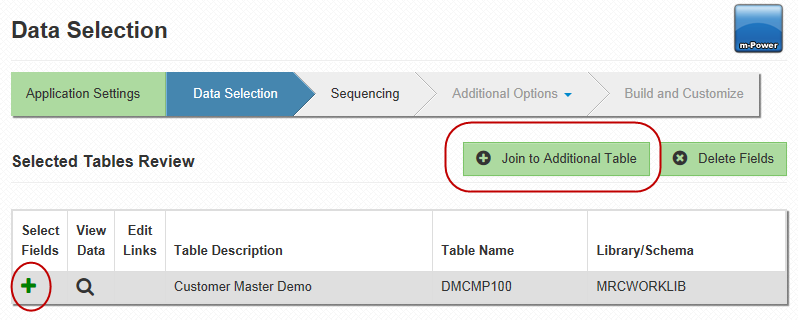
After clicking accept, you will be brought to the "Data Selection" screen. So far, you have only selected one table. Therefore, only this table should appear on this screen.
From the Selected Tables screen you have three options:
1. Select additional fields from the table already selected:
Click on the green plus sign under Select Fields. This will return you to the Field Selection screen. Select your fields, click "Accept". This will return you to the Selected Tables screen.
2. Navigate to the application menu:
To navigate to the application menu, click on the application name in the toolbar.
3. Join to a different table:
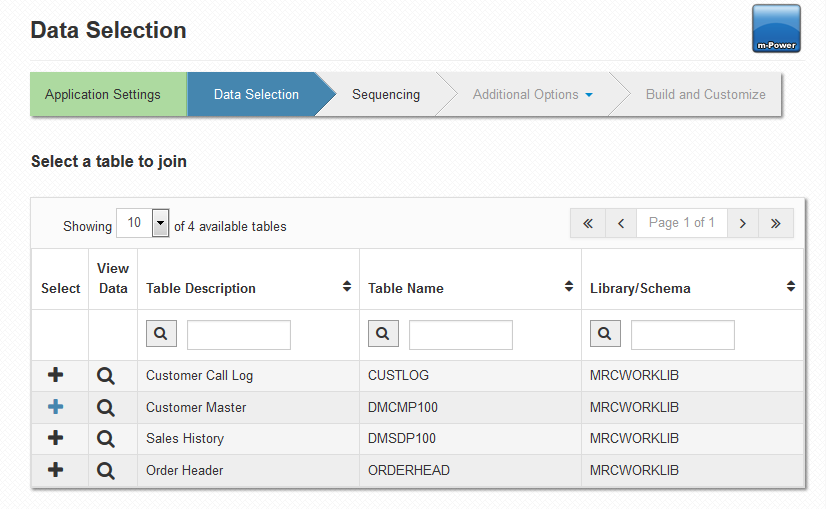
If you want to join to a different table, click on Join Table. You will be brought to the Select a Table to Join screen.
Click on the plus sign to join out to the desired table. This will bring you to the Choose Join Table screen.
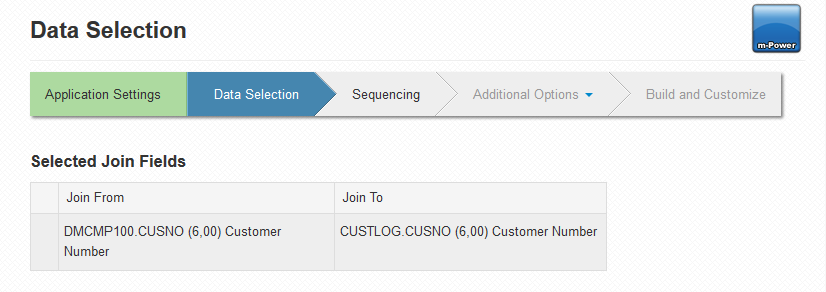
All of the fields that are found in both the primary table and the secondary table are shown in this screen. Select the fields you wish to join over, and click accept. This brings you to the Field Selection screen. However, you now see the fields that are available to be selected from the secondary table rather than the primary table. Select your fields, and click accept.
Now that you have selected the fields for your application, you are ready to move onto the last required specification, Sequencing. To navigate to the Sequencing screen, you can either return to the application menu (by clicking the application name in the toolbar), or by clicking on the downward facing triangle in the far right of the toolbar, and then selecting Sequencing.
