Overview
Perhaps one of the greatest, little known features of m-Power is the use of the Pagename function. The Pagename function allows you to create any number of output pages, then be able to specify which output is displayed to the user.
This could be used for a variety of different reasons, including:
- You wish to have one report that sometimes will display some columns, while displaying a set of different columns another time
- You wish to have a retrieval or report look differently, or have different options available to the end user
- You wish to utilize the same data but be able to fully control/customize the HTML output
Pagename for Reports
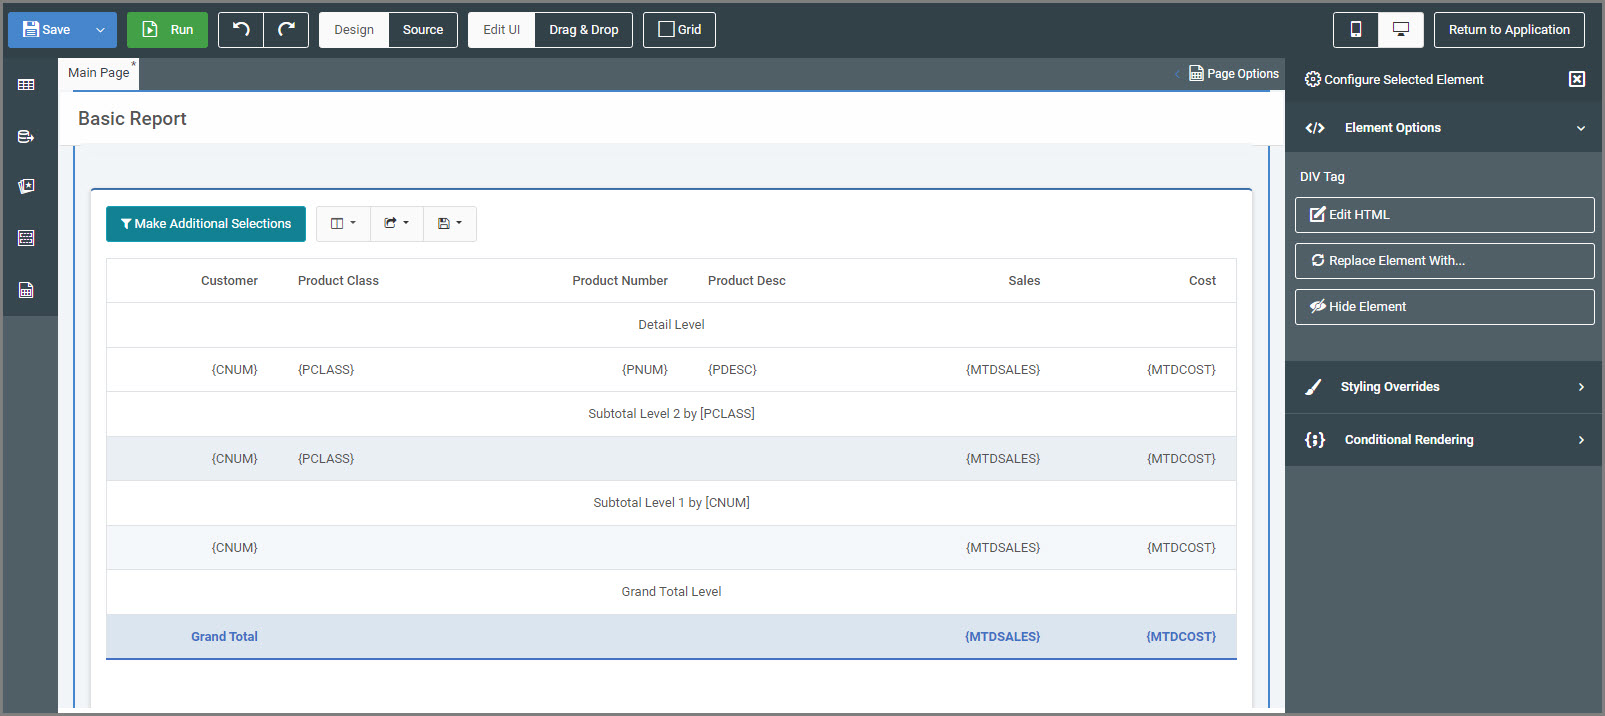
This example assumes you wish to utilize Pagename for a Report. I have built a basic report and have compiled it. Now, I will enter m-Painter.

For Pagename to work, we must save the presentation layer with a new name. The easiest way to copy this file is through m-Painter itself.
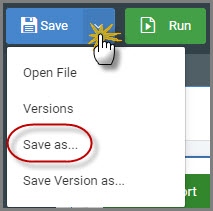
On the m-Painter toolbar, click the “Save” dropdown and select “Save as…”.

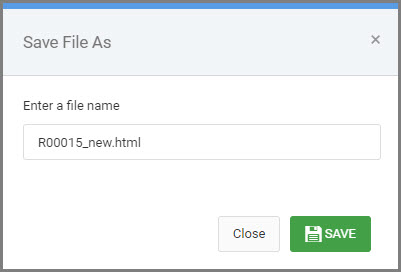
A window will open that will let you rename the current presentation layer:

In the window above, you will pick a new name for your output file. You must prefix each custom file name with the application number. For example, if you are working on Report 15 (R00015) then prefix the filename with R00015. Something like:
R00015_new.html or R00015_my_custom_name.html are two perfectly valid file names.
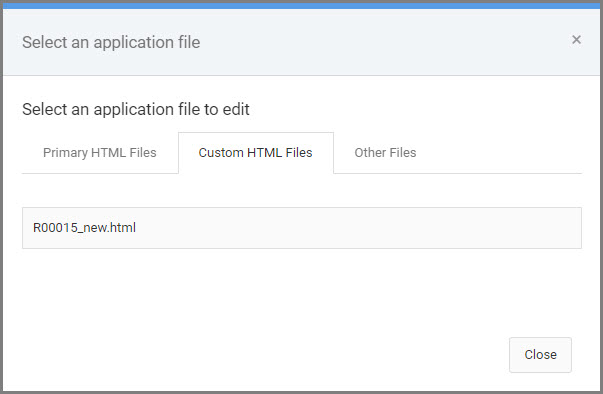
The current presentation layer will be renamed and then the current m-Painter window will reload with this new file for immediate editing.
On the m-Painter Toolbar, click the “Save” dropdown and select “Open File” to navigate back to the original page or to any other renamed page.

Now you can edit each page to your liking.
Now that you have edited your application outputs individually, we can complete the final step of calling the appropriate application.
Running the Report through the Prompt page will result in the default output being run. However, if you are calling this Report via a URL, there is an additional parameter to pass which allows you to control which Pagename is used.
For Reports, specify “rptPage” equal to the name of your output page.
In my case, my link might look something like this:
MRCWORKLIB.R00004s?run=2rptPage=R00004two.html
Learn more about passing parameters via Reports here.
Pagename for Non-Reports
For other applications, the syntax is slightly different. Rather than “rptPage”, the parameter is called “pageName“.
In those cases, my link might look something like this:
MRCWORKLIB.M00020s?pageName=M00020s_altview.html
